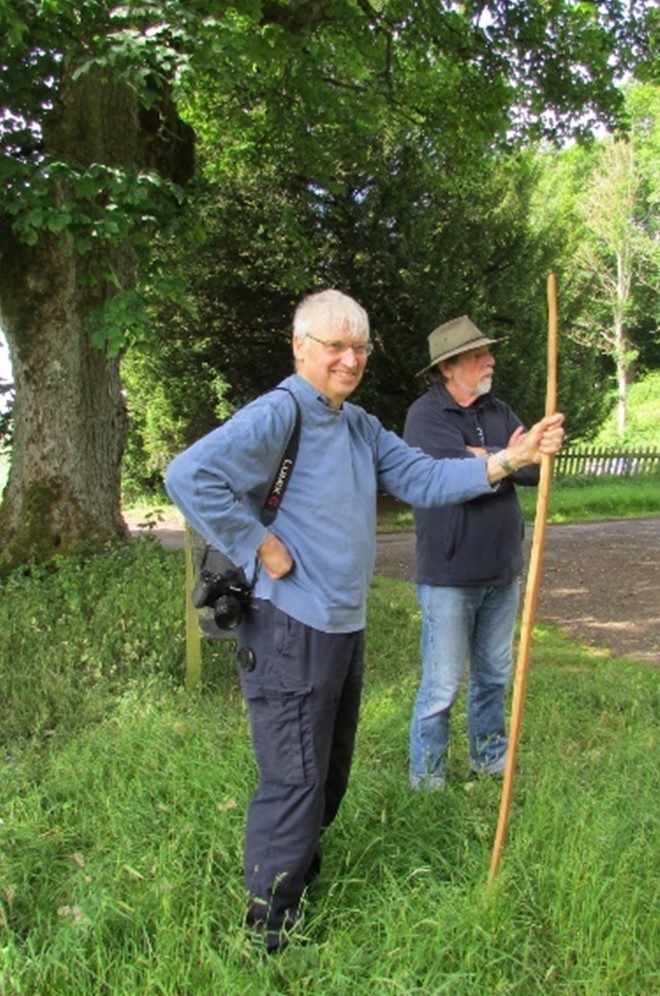
On Wednesday 22nd June, 2022, a group of ten members joined Rob Hands at two local battlefield sites just to the west of Perth. We assembled at the Community Hall at Bridge of Earn and drove in convoy to the Dupplin Moor site pausing on the way to see the area where the predominantly English army camped before the battle.

This gave a sense of the terrain, especially the high ground rising from the River Earn.

Then we went on to the Dupplin estate where the battle was fought in 1332 as part of the struggle for Scottish independence from England under Edward II, then Edward III. The two armies were under the control of Edward Balliol and the Earl of Mar.
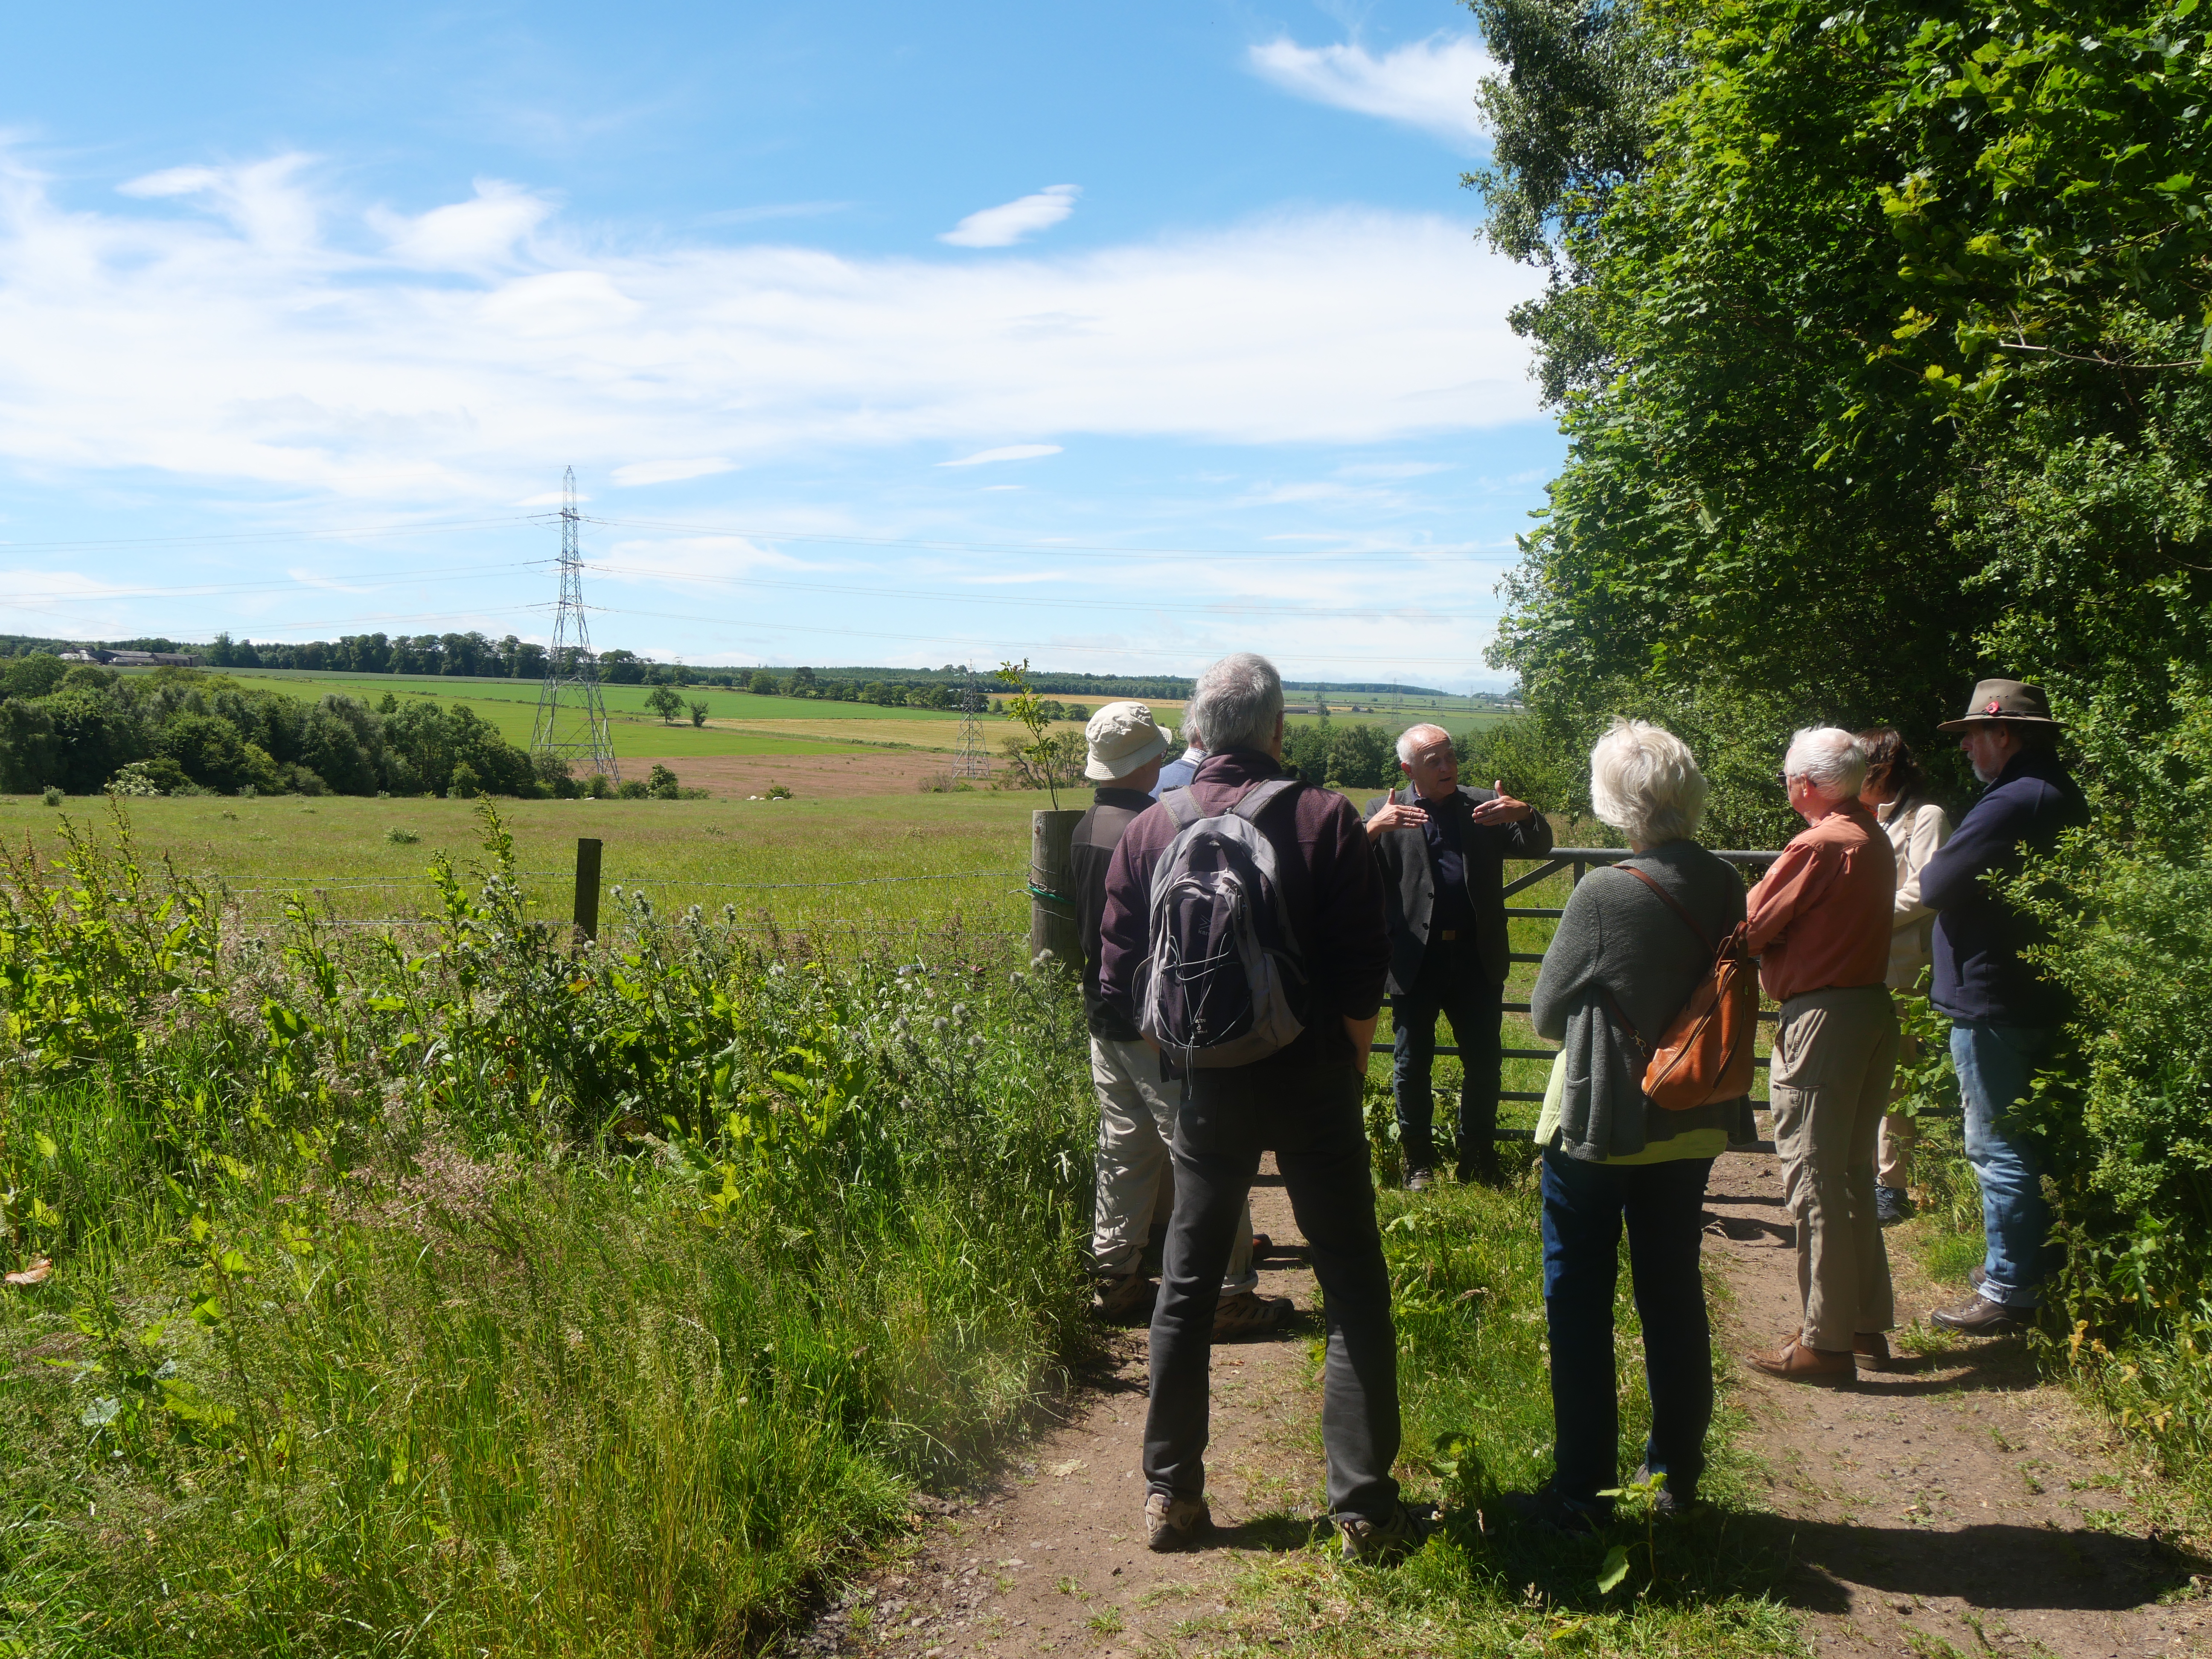
We drove up to a site which Rob Hands feels best fits the description of the terrain from the available records which suggested a narrow defile where the armies would be forced to a narrow battlefront with little chance of making a flanking attack.

The Balliol’s archers were deployed on the higher ground either side of Mar’s attacking troops and were therefore able to cause havoc among the engaging forces.

Rob suggested that this was one of the earliest accounts of a battle using the power of the yew long bow in this way and which influenced battle tactics for much of the following centuries, including Agincourt.

Balliol’s troops were eventually victorious and both the Earl of Mar and Robert Bruce (illegitimate son of Robert the Bruce) were killed in the battle.
The party then moved on to the site of the later Battle of Tippermuir (1st September, 1644). The starting point for this part of the tour was Noah’s Ark on the western perimeter of Perth.
This was the period of the English Civil War and the wars of the Three Kingdoms following the Bishops’ War of 1639-40. This battle signalled the beginning of the campaign by the royalist Marquis of Montrose in support of Charles I against the Covenanter (Government) army.

Rob Hands has a remarkable memory for the names of the participants and the formation of their battle lines which he used to portray graphically how the battle developed. In this battle the innovation which went on to influence later tactics was the ‘Highland Charge’ used by MacColla which had been successful for him in Irish campaigns and instrumental in winning this battle for Montrose’s royalists. This led to a rout of the Covenanter troops with large numbers being killed on their retreat to Perth.

All the details of these two, and other, Perthshire battles can be found in Rob Hands and Paul Philippou’s book “Battleground Perthshire” from which publication the diagrams above have been taken and where the background to, and the development of, these battles is described in much more detail.
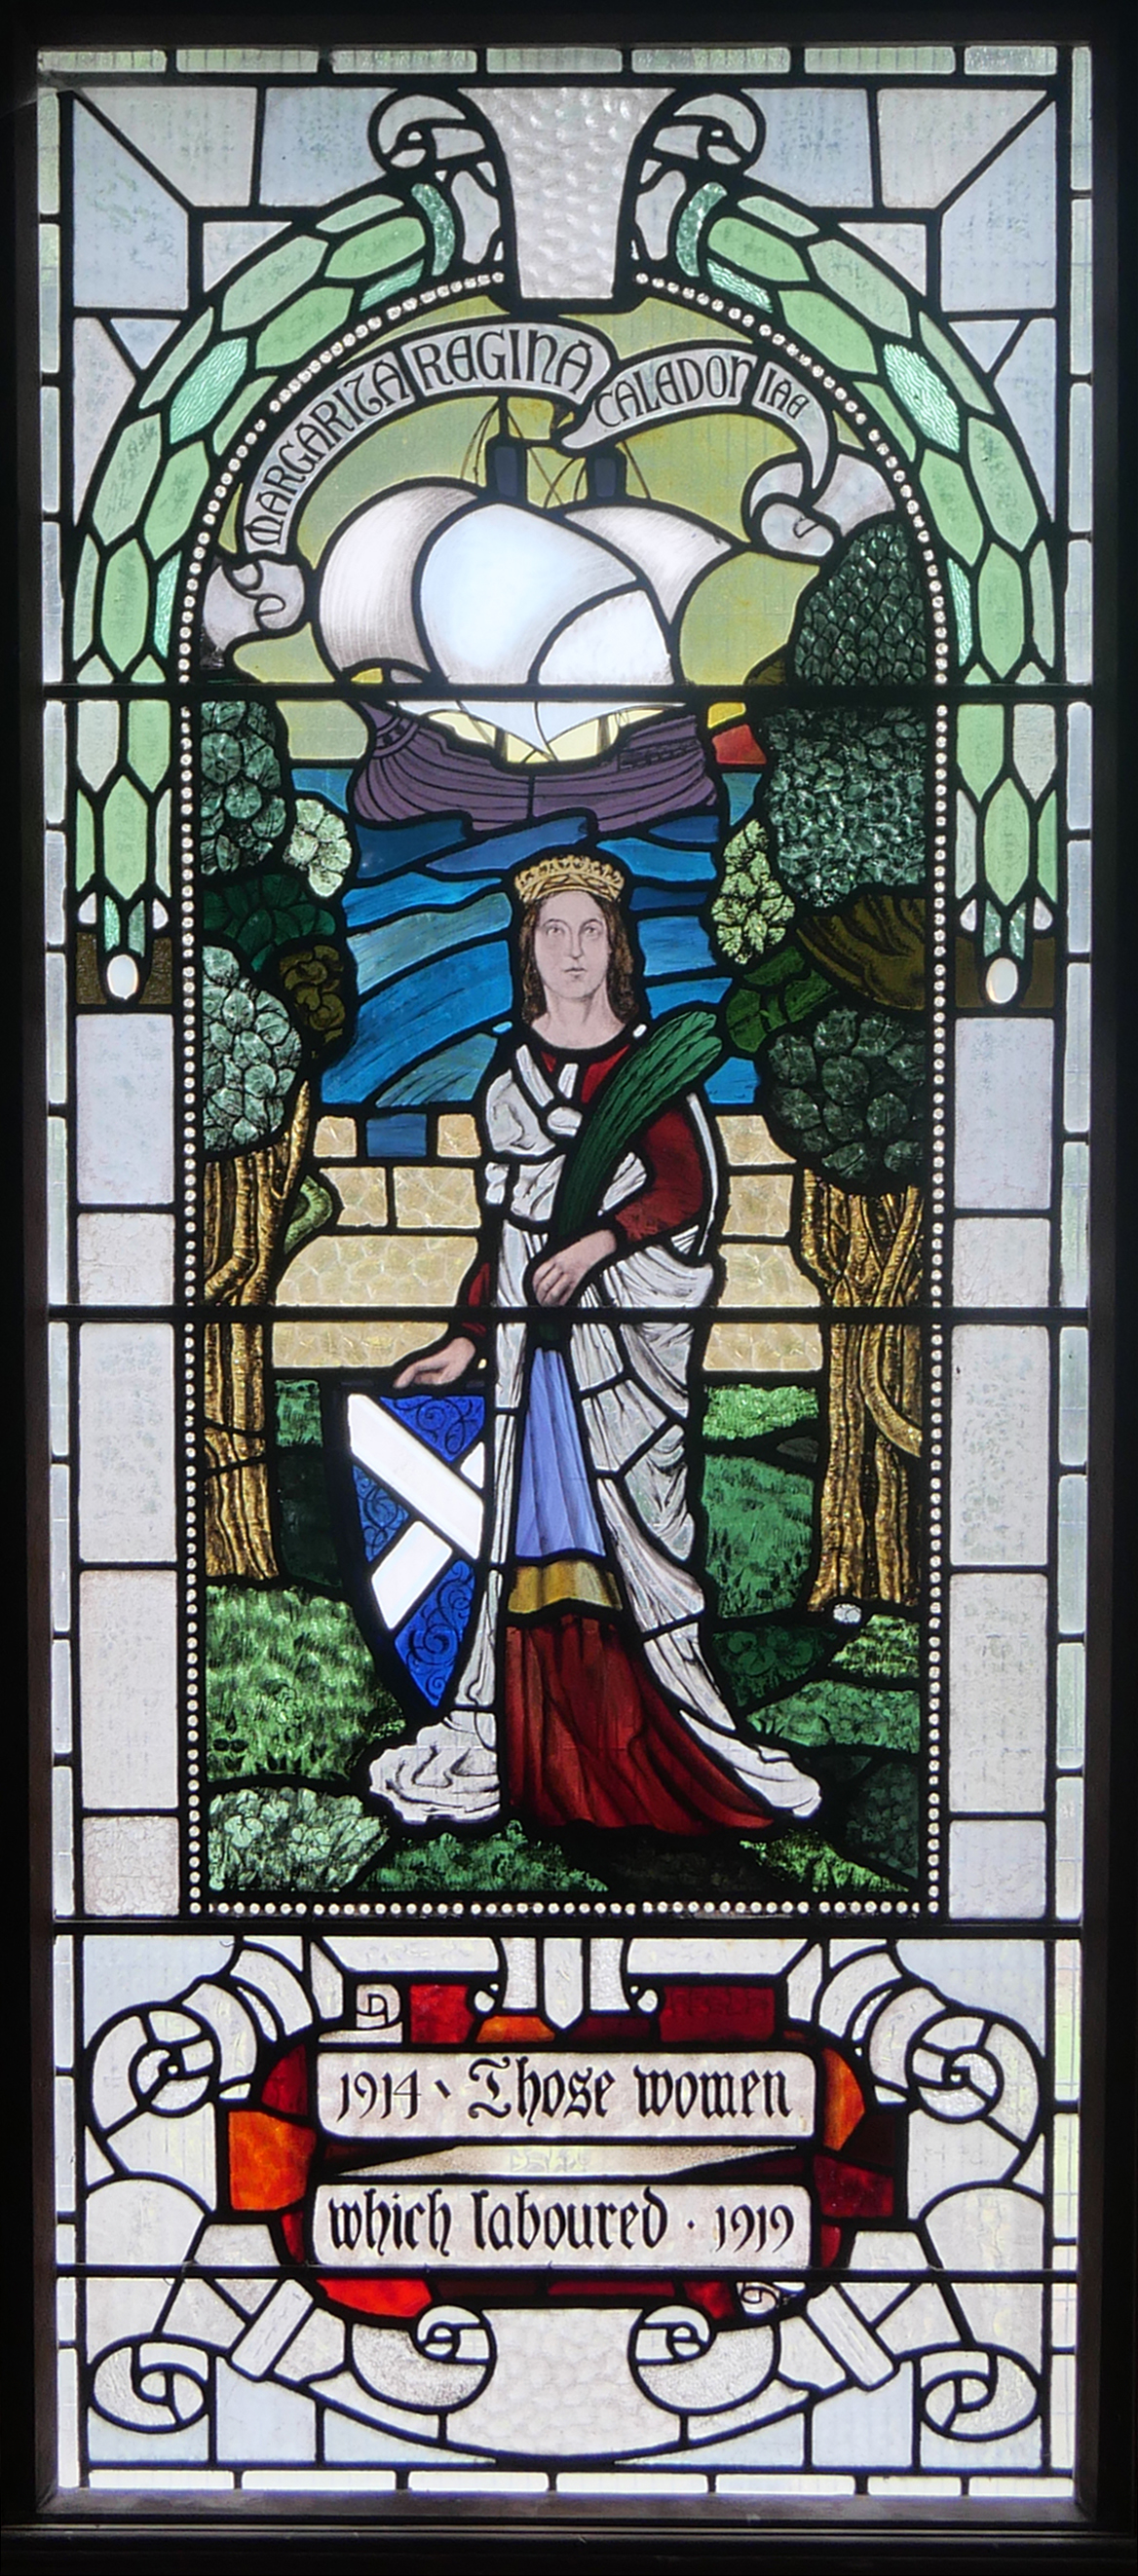
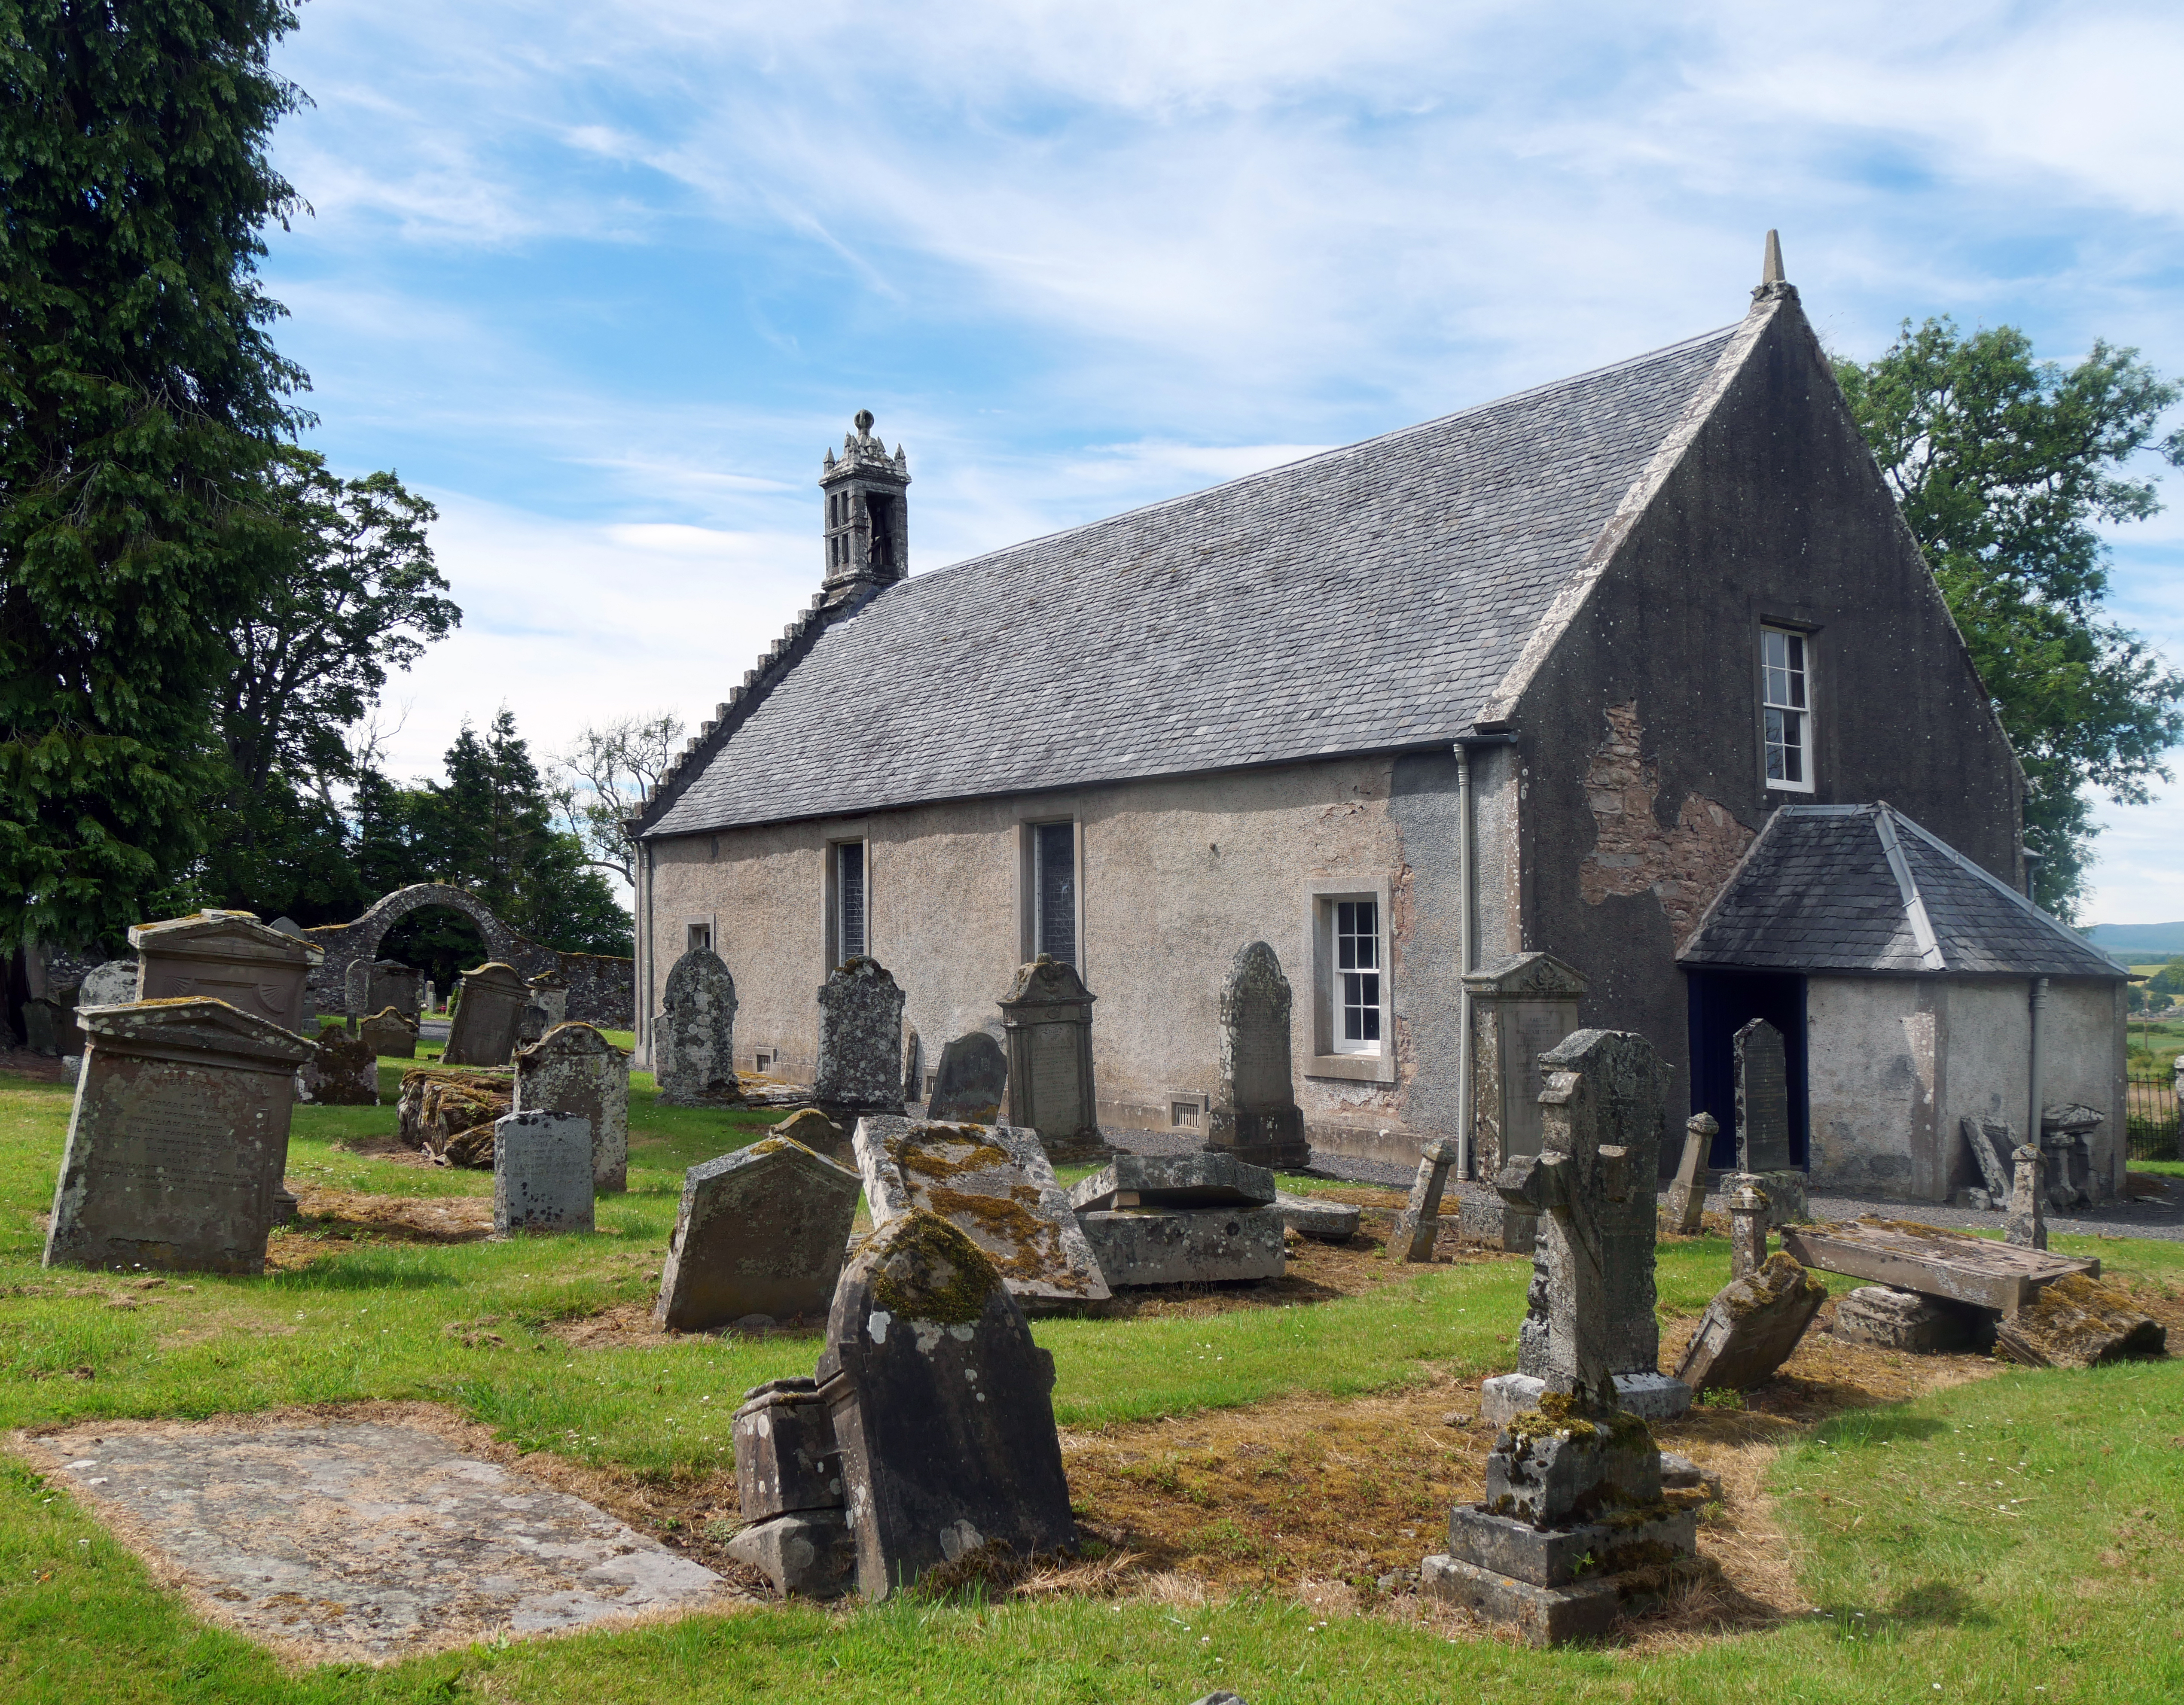
Some of the party went on to Tibbermore Church where Montrose stopped before the battle to take a drink of water and where some 300 of the Covenanter slain are said to have been buried.


Review compiled by Lesley Whitwood with photographs supplied by Lesley Whitwood and Ian Stewart. Battlefield maps courtesy of Rob Hands from the book ‘Battleground Perthshire’, published by Tippermuir Books Ltd.

You must be logged in to post a comment.